[ad_1]
Whether you are someone who upgrades their phone on an annual basis, every couple of years, or less frequently, the time will inevitably come when you have an old handset to deal with. You may have decided to keep it as a spare, or you may be passing it on to a friend or family member. You could also opt to make some cash by selling it to either an individual or a company. In just about every instance, you should take steps to ensure that your private data does not fall into the wrong hands.
By far the quickest and easiest way to do this is to simply wipe the phone clean so it has nothing on it other than the pre-installed apps. This is advisable in any scenario in which someone else will have your phone, but particularly if you are selling it to a stranger. Here is how to go about it and safely erase the contents of your Android phone.
Steps
- Backup your data to the cloud
- Wipe your old device
Tools and Requirements
Step by step guide
1. Backup, backup, backup

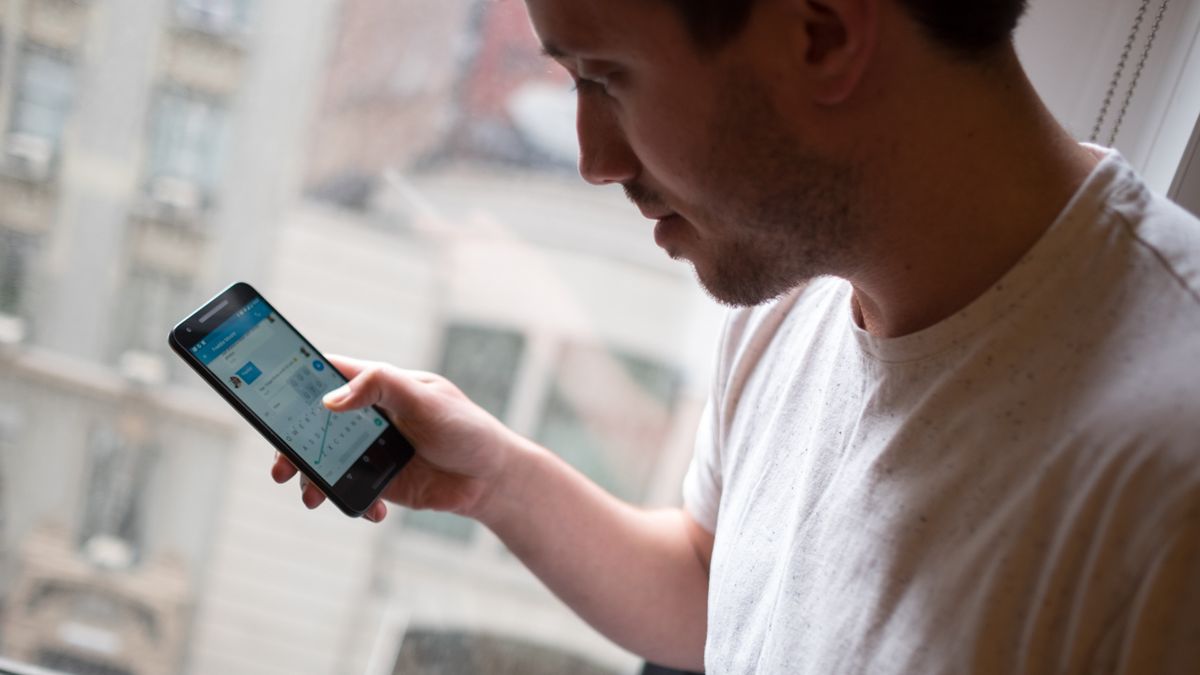
(Image: © Sofia Wyciślik-Wilson)
Before you jump in and start deleting every single thing from your phone, it is important to ensure that you have copies of everything you would like to keep. This will include photos, files that have been sent to you, things you may have downloaded, and more. You can make use of a cloud storage service like Google Drive to save files and data, or you could opt to simply email things to yourself. The approach you take will depend on how much you need to safeguard.
2. Locate data erasure option

(Image: © Sofia Wyciślik-Wilson)
When you are certain that you have a backup of all of your important files, photos, and data, you are ready to proceed. Just what you need to do to erase your phone will depend on the handset you are working with, and you may need to hunt around a little to find what you need. Launch Settings and head to the System section, or Additional Settings, or something similar where you should find a link that will enable you to reset your phone.
3. Search for reset option

(Image: © Sofia Wyciślik-Wilson)
If you are having trouble locating the option to erase or reset your handset, you can make use of Android’s search option. When you have launched Settings, tap in the search box at the top, type ‘reset’ or ‘erase’. You should see in the search results an entry that refers to resetting your phone or restoring it to its factory state.
4. Choose the correct reset option

(Image: © Sofia Wyciślik-Wilson)
You will almost certainly find that there are two or more resetting options to choose from, and it is important that you select the correct one. For example, you will probably see the option to reset the settings of your phone, and while this can be handy in the right circumstances, it will leave your data completely untouched. You need to locate an option that refers to formatting your handset or erasing all data.
5. Select and confirm reset

(Image: © Sofia Wyciślik-Wilson)
Using Smart App Control in Evaluation mode gives you a chance to see what it can do for you without the security feature getting in your way or bothering you. Make sure that the option is labeled Evaluation is selected and then confirm that you want to continue by clicking Yes in the User Account Control dialog that appears.
You may not need to change anything to enable Evaluation mode, but you can read about what it does by clicking the Learn more about evaluation mode link.
6. Final confirmation

(Image: © Sofia Wyciślik-Wilson)
Even after providing the security requested of you, you will still need to confirm that you definitely want to completely erase the contents of your phone. If you are absolutely certain that this is what you want to do and you have backed up anything you need to keep, you can go ahead and select the option to erase data, and you will be told when the process is complete. You can now pass your phone on or sell it without fear of your data being misused.
Final Thoughts
The exact process for wiping your phone may vary very slightly depending on its age as well as the brand in question. Some companies release handsets that have almost untouched versions of Android installed, while others are more heavily customized. This may mean that the wording of individual options is slightly different from what is described here, but there should not be a massive variance.
It is difficult to overstate the importance of ensuring that your phone is completely wiped of any personal information before you sell it or give it away. Our phones have become so integral to our lives that the emails, social media, and photos on our devices can be incredibly revealing. It may seem like a hassle to go to the trouble of erasing the contents of your phone, but it is minor inconvenience that could save you a lot of trouble further down the line.
[ad_2]