[ad_1]
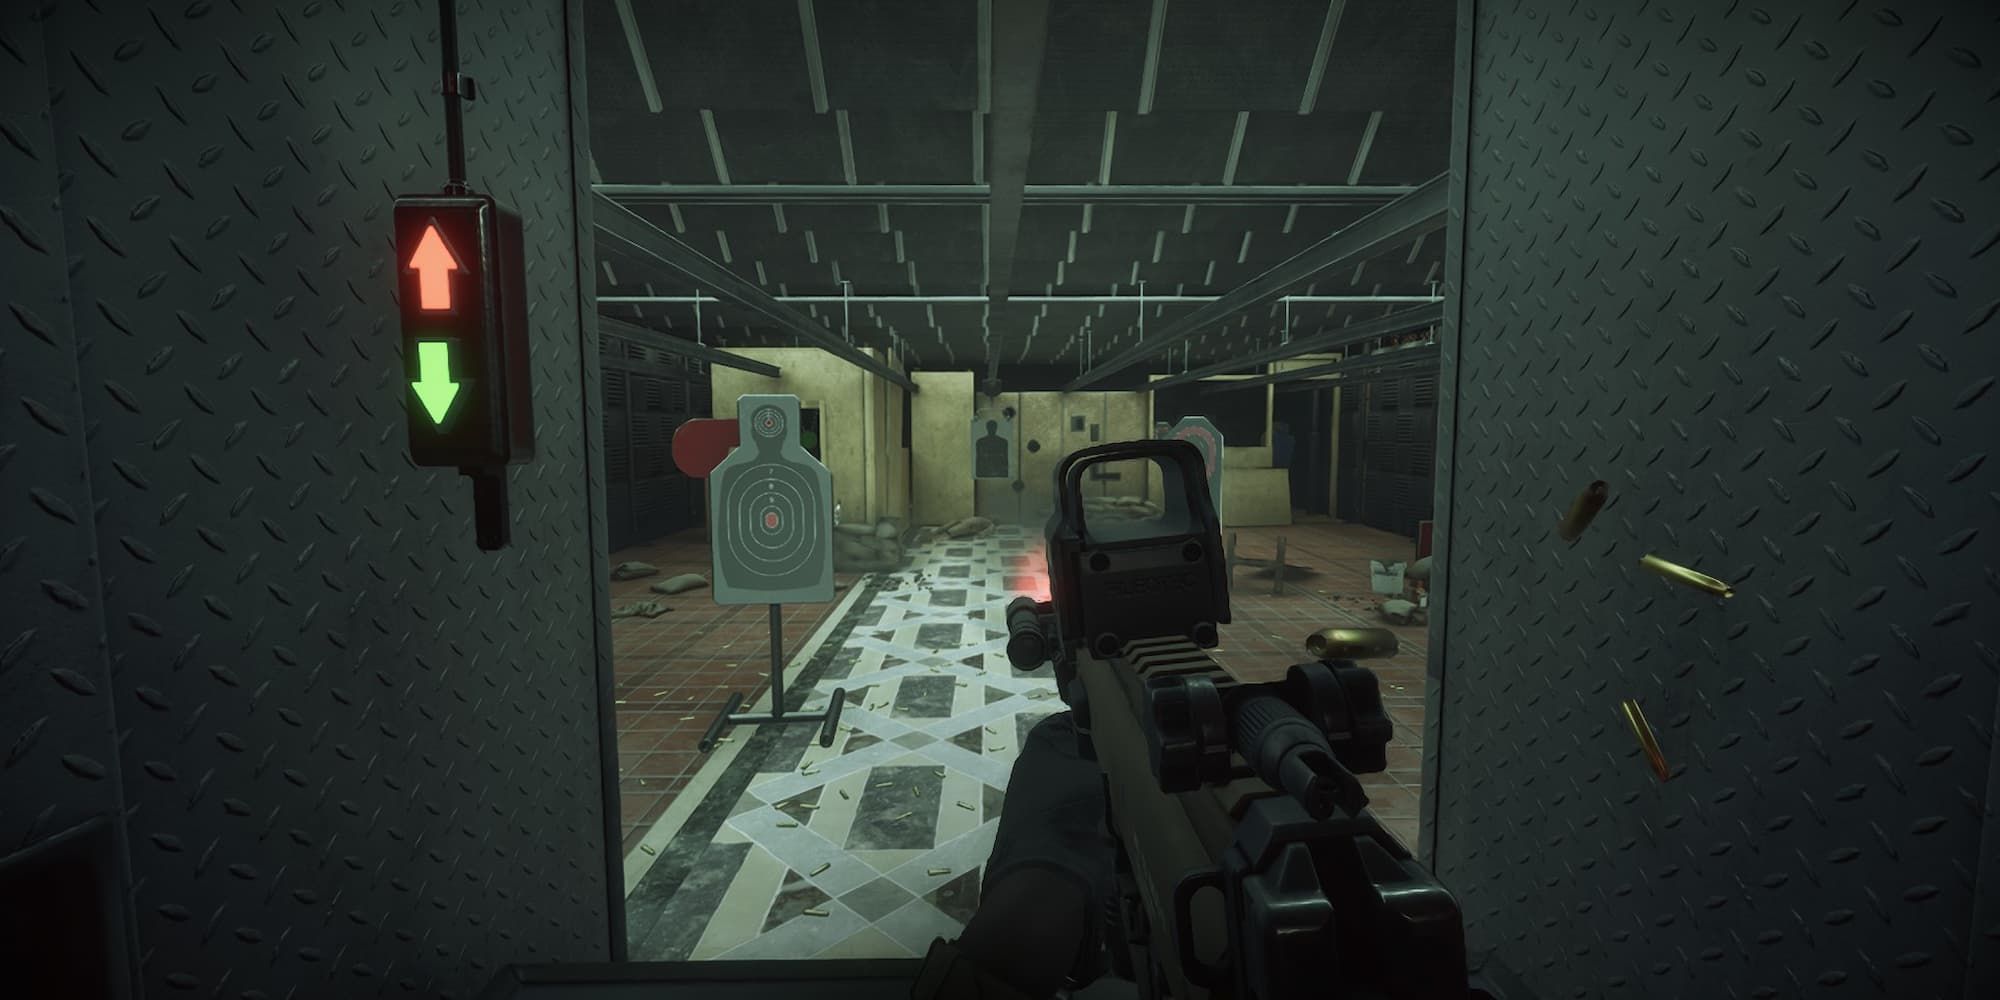
As a realistic tactical shooter, players can expect guns in Ready or Not to perform at or near the same level as each other. Every bullet is deadly, and every gun is comparable to each other. The gear choices players make are mostly up to personal preference, though there are a few things to keep in mind that can drastically affect how a mission plays out.

Ready or Not: All Missions In Order
Ready or Not features 18 maps in total, and players will want to play them in a certain order if they want to understand the bigger picture.
The following guide contains four loadouts designed for different scenarios. The guns and gear here are selected based on ease-of-use and their general effectiveness at the role they are meant to play. Of course, players are free to swap things around, but the following should provide newer players with an easier experience overall.
Ready or Not Best Loadouts

When selecting which guns and gear to bring, the first thing you should consider is the strategy the team wants to use for a mission. A general loadout would include plenty of flashbangs and a couple of other breaching devices. Meanwhile, more specialized loadouts lean into specific roles or team-wide synergies.
All-Rounder AR Loadout

Generalist Loadout | |
|---|---|
Primary Weapon | MK16 (AP) |
Secondary Weapon | G19 (JHP) |
Grenade | Flashbang |
Tactical | Pepper Spray Wedge |
Armor | Heavy – Front/Back – Ceramic |
Long Tactical | M320 Flash |
Headwear | Anti-Flash Goggles |
This build makes heavy use of flashbangs for breaching rooms and arresting suspects. Weapons-wise, the MK16 is great for beginners thanks to its low recoil and reliable stopping power against armored targets, especially with AP rounds. Heavy Ceramic armor strikes a good balance between speed and protection, which are the two things newer players should try to get the hang of as soon as possible.
You can take this loadout to every mission without having to make many changes. Use Pepper Spray to cuff uncooperative suspects and Wedges to protect your flanks. Also, you should change your weapon’s ammo type depending on how heavily armed the suspects are. Missions like 23 Megabytes A Second, for example, have unarmored gunmen. Meanwhile, the ex-soldiers in Ides of March wear ballistic vests can stop pistol-caliber and JHP rounds in their tracks.
Tear Gas Loadout

Non-Lethal CS Gas Loadout | |
|---|---|
Primary Weapon | Beanbag Shotgun |
Secondary Weapon | Any |
Grenade | CS Gas |
Tactical | Any |
Armor | Light – Full – Ceramic |
Long Tactical | M320 Gas |
Headwear | Gas Mask |
This one is a specialized loadout that’s all about tear gas. It’s great for getting S rank in missions, and it is especially useful in tight maps like Ends of the Earth and Relapse. Gas can quickly fill a room and send suspects into uncontrollable coughing fits, giving the team time to move in and secure them. This loadout works best if the entire squad is using it.
Ironic as it might be, the Beanbag Shotgun is preferred over the pepperball launchers since it can immediately stun or disarm suspects if shot in the hands or legs. Be careful, as beanbags can kill people if they are shot in the face with one.
CQB Loadout

Rapid Response | |
|---|---|
Primary Weapon | MP7 |
Secondary Weapon | Five Seven |
Grenade | Flashbang |
Tactical | C2 |
Armor | Light – Front/Back – Ceramic |
Long Tactical | Battering Ram |
Headwear | Anti-Flash Goggles |
This is a light and mobile loadout that’s specifically designed for missions where time is of the essence. The extra speed from light armor and SMGs means players will be able to weave between cover and scour maps more quickly without completely sacrificing offensive and defensive abilities.
Additionally, the MP7 uses 4.6x30mm rounds, which are far better at penetrating armor than the 9x19mm caliber used by the MP5 and MP9. The same applies to the Five Seven pistol, which uses 5.7x28mm bullets. Even JHP versions of these bullets deal more damage against armor compared to other calibers.
One thing to note about armor-piercing ammo is that they have a higher chance of causing collateral damage. AP ammo can penetrate targets, potentially hitting civilians or other suspects behind them. JHP rounds are weaker against armor, but they don’t penetrate people and terrain as much.
Doorkicker Loadout

Breacher | |
|---|---|
Primary Weapon | Any |
Secondary Weapon | Any |
Grenade | Flashbang |
Tactical | C2 |
Armor | Any |
Long Tactical | Battering Ram/Breach Shotgun |
Headwear | Anti-Flash Goggles |
As the name suggests, this loadout is for the team’s dedicated breached, whose main job is to knock-down doors and terrify whoever’s behind them. Any weapon and armor setup will work here — the important part players should know is how breaching tools work. Secondary weapon magazines can also be forsaken completely in favor of additional C2 charges or grenades.
Breaching tools have varying effects on a suspect’s morale; the stronger the breach, the higher the impact, and the better the odds of having a suspect surrender as you enter. C2 charges and Battering Rams have the highest effect on suspect morale, especially when followed up by a flashbang. However, the former can incapacitate or kill anyone who’s standing in front or behind the door, and the latter can expose the team to long-range fire.
The Breaching Shotgun can be used to partially open doors from a distance, giving the team a chance to throw a flashbang before entering. It can also be used to trigger tripwire traps, removing the need to manually disarm them. Choosing between the ram and the shotgun is purely up to player preference.

Ready or Not
- Released
- December 13, 2023
- Developer(s)
- Void Interactive
- Engine
- Unreal Engine 4
[ad_2]
Source link